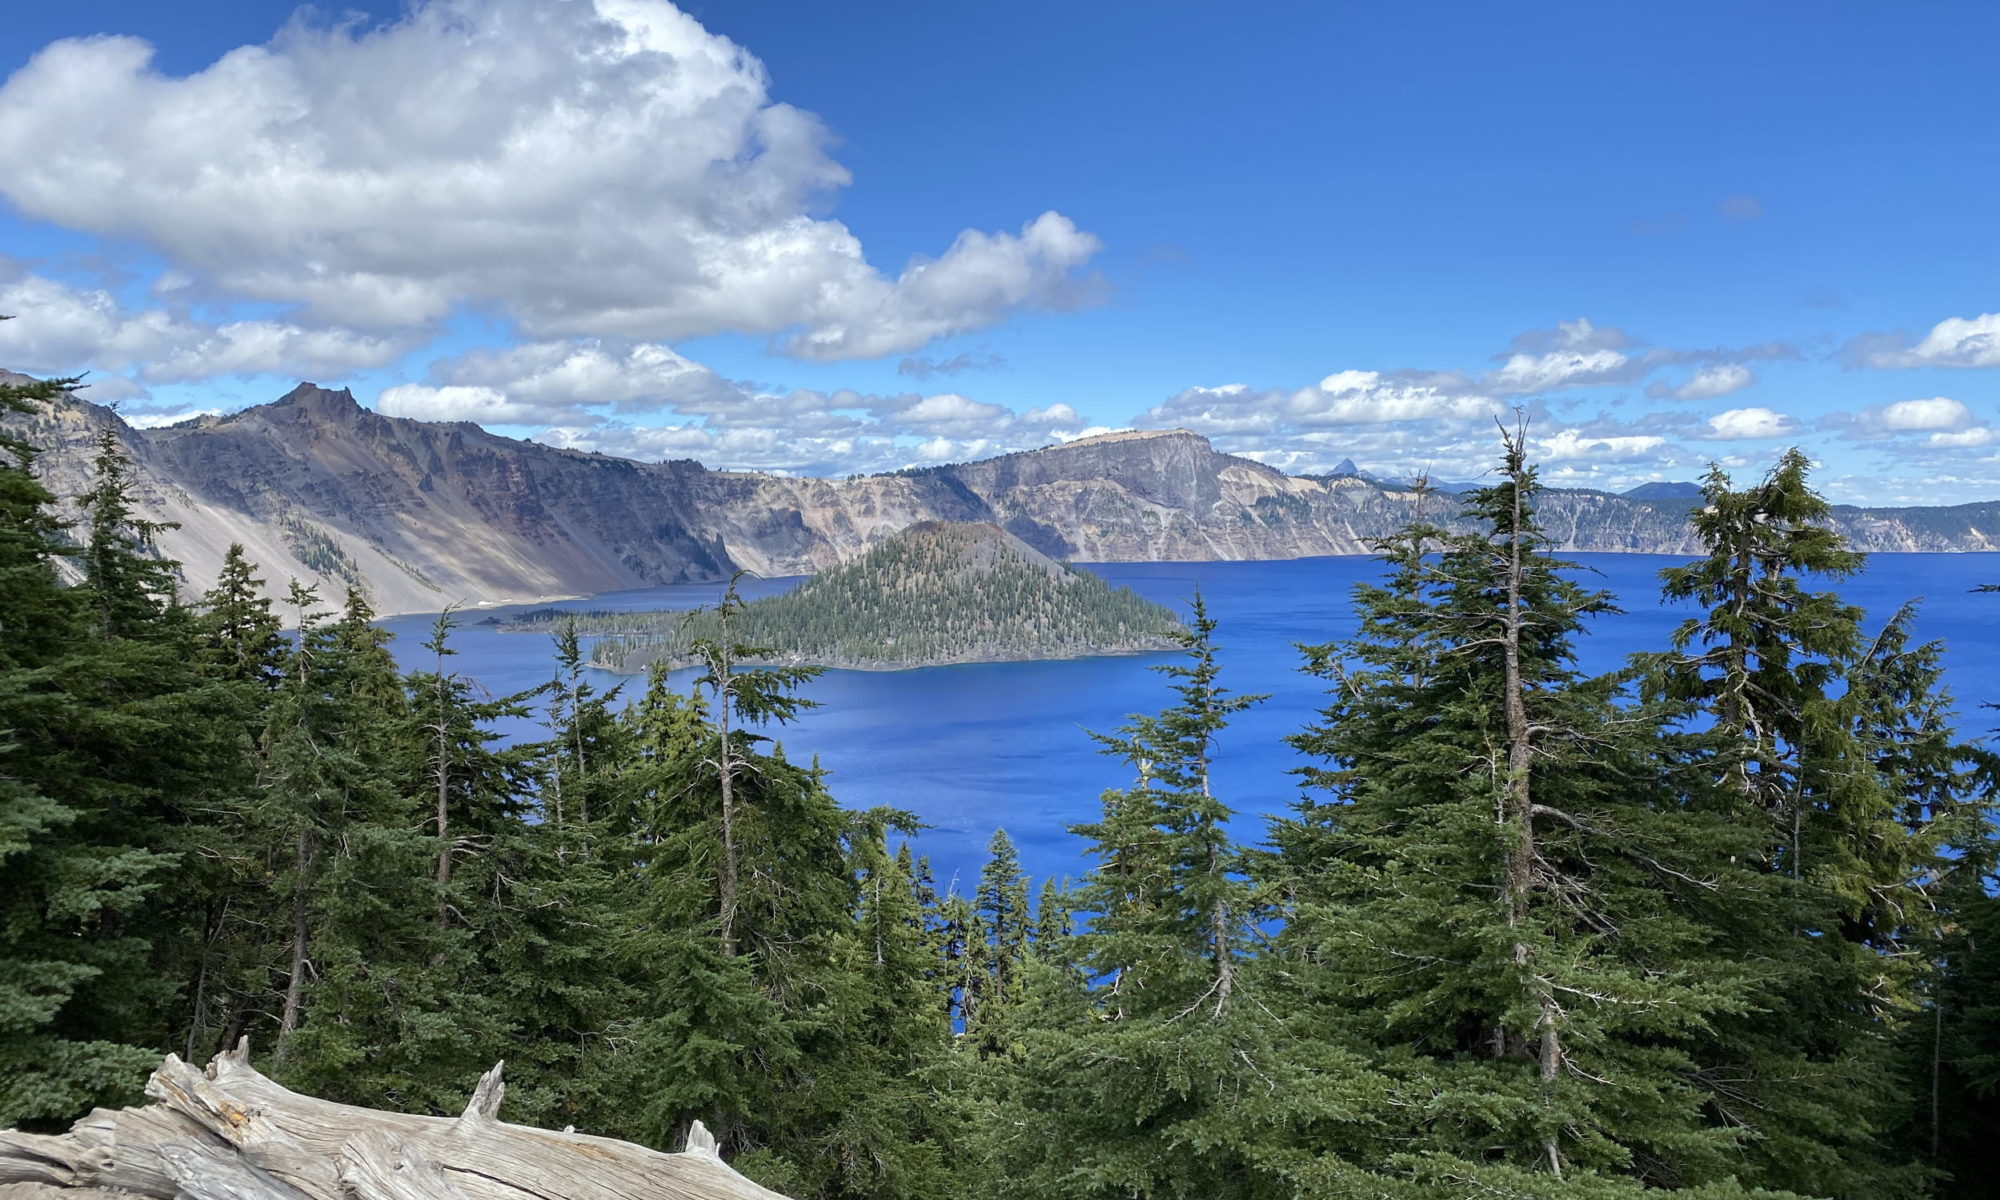

Summer 2019 Badlands, Canada, Glacier, Yellowstone, Tetons
We’ve been on the move a lot – so not much time for video or blogs. Or another way to say it, is we’ve  not yet learned to travel in “learning to live on the road mode” verses “being in vacation mode”. We’ve also been mini-caravanning, which also places constraints on the schedule. We HAVE taken a thousand or so pictures and videos.
We left central Illinois just into June and headed straight to the Badlands where we spent a few days boondocking near the spot we stayed last year. One thing I noticed when I was looking through Apple maps while we were there – was that the satellite view was taken WHEN WE WERE LAST THERE! Coincidences….. Our previous rig, a Class C, was precariously perched on a point. Hebards Travels and 1st Class RV Adventures were parked nearby.
But back to living on the road. I suppose once we get to the point where we go on the road full time, we will finally slow down. We have at times, spent up to three weeks in once place, but most of the time we only manage 3 to 5 days and the majority of campsites we only spend one or two nights. Toss in shopping, dumping, scenic drives, safari runs and hiking – there isn’t a lot left in the day, week or month.
My “arthritis” isn’t any better. I put that word in parentheses because we still aren’t sure what it is that I’m afflicted with. I’m living with and sometimes working through the pain. On one hand, I’m told that some exercising is good for arthritis. On the other, if I do too much (like go for a couple mile hike), I pay for it the next day. On the third hand, doing nothing doesn’t help either.
Our new Solar works great when we have sun, but most of the time we haven’t had enough. It’s not that the sun hasn’t been out (though we’ve had our share of rain), it has been mostly our choice of camping spot, often deep in the woods or an older well-shaded RV park. Apgar and Gros Ventre aren’t great spots for sun unless you get lucky. When there is sun, it works well. We also know that 800 watts often isn’t enough for our daily power needs but it does help measurably. Someday, four more panels and 2 to 4 more batteries would be the plan.
For the most part, we continue to be happy with our rig. We’ve had some more issues I’ll cover later, but overall, yes, we absolutely would buy another tiffin.
We had a minor scrape with a tree trunk in a Canadian park. One of the things we’ve consistently find (both private and public parks) is they over-estimate people’s ability to shoe-horn a large rig into a small spot. I’m not sure who’s fault this was. Those of us who are just looking for a nice place to park for a few days will take almost any site when offered. Parks, national, state or private need the revenue and yes, simply want to be of as much use as possible. The Canadian spot we were assigned and pull-through loop. Loop is better defined as a 30 ft long driveway, a 90 degree left turn into a 40 ft parking spot, with a 45 degree turn out into the road. In retrospect, we should have gone to the exit and backed in. The driveway was “defined” by low ragged bushes.


The kind one might think you can drive right along with no real issue. There was a foot and a half tall stump, hidden right in the edge. Debbie was driving, but I was watching as she hedged to the right to make the turn. Not until the stump was bending in a storage door did either of us realize what was going on. I walked up, parted the bushes and saw the thghing.
Sigh….. A few days later, I saw, in another camp ground, a class A have the same issue. The difference was, the stump was only about 8 inches tall, thus it was noticed when the tire bumped into it and thus no damage was done.
The campground we are sitting in now is a national. Much of it has newly paved asphalt roads and pads – nicely level. They have concrete bumpers in back so you don’t fall off the pavement. That’s good because the asphalt is so high (a foot higher in some places) above the surrounding ground that going “off-road” could be a serious problem. But – the sizes they calculate are based on a trailer or RV backed up to the bumper, hanging off into the campsite with the front of the trailer, just off the road. If you have slides or can’t manage to park your RV exactly on the edge of the pad, there is little to no place to park your tow or toad. All over the park, people are having to park on the side of their pads – technically against the rules, but since there is no other place, the park attendants look the other way. The frustrating thing is there is plenty of room to add 8 feet to the end of the pads or 2 feet to the sides. But now they spent money on new pads – so that won’t happen for another 20 years, if ever. I just hope some bureaucrat doesn’t decide to change the rules on lengths of RV allowed into the park. We put up with the tight spots because the alternative is an expensive private park, an impossibly rough road to a boondocking spot or a Wal-mart parking lot.
So, let me back up a bit. After kicking around the badlands a bit, we headed for Banff. Banff National Park, Alberta, Canada. We scoured stories on the web and the horribly written government web sites about what to take or not to take over the border. It wasn’t clear what we could or should leave in our pantry and refrigerator.
Crossing the border turned out to be trivial each way, despite our worries.  Can we take meat? Veggies in a package? Eggs? The rules on the web are not only confusing. Often it seems they are written for commercial transporters but with a few deferential paragraphs for tourists. In the end, they looked at our passports, asked us a question or two about where we were going and then said: “have a nice day”. Here is the interesting thing. We recently renewed our passports and had forgotten to sign them. On the Canadian side – they never noticed (or cared). On the return trip, the guard noticed and in passing mentioned it to us saying: “some guys would have issue with that, but he didn’t – just sign them before we use them again.”
Besides arthritis, our biggest issue has been Internet access/Cell access. We crossed into Canada and our phones all became useless. Before we went up there, I logged into my AT&T account and it said we were covered for North American international travel. So, what’s the problem? I didn’t want to just turn on International Roaming because of the horror stories about what that can cost you. We finally turned it on, on one phone, and called AT&T to get confirmation that it was the correct thing to do. Which it turned was ok. Cell however in the middle of Alberta (Banff and Jasper NP) is still pretty scarce. Cell access has been pretty bad as well as we descended back into the US, via Glacier, Yellowstone and the Tetons. Between our two rigs, we have two hotspots and 5 phones. The mysterious side of it all is that at any given time, half of them would be totally locked out of the cell-data and the other half would have access – and on any given day, which ones remained usable were different. All are on the same family plan. We have an “unlimited” plan – which of course means unlimited to some bandwidth LIMIT, then your data use is up to the discretion of the local cell site – “managing” your data use as it sees fit. At the Tetons, there were no less than 5 AT&T towers that my hotspot and phones could “see”. Connectivity constantly switched between 3G, 4G, LTE – mostly with no actual data connectivity. After a few days (and roll-over of my monthly quota) all of our phones started to work – not just some of them. Now here is the weird part. Data was often so non-existent that not even text messages would go out. BUT, fire up Netflix and we could actually stream a show. Even weirder, once streaming, other web access would work or work better. Go figure….. I just assume it’s faulty programming at the cell towers, some “Netflix magic” or simply the whim of the “network management” software.
Banff was great – as was the trip we took up to Jasper. We did some hiking  there as well. The only real RV availability for both our rigs, however, was the overflow parking lot near Lake Louise. It was literally a parking lot – that often filled up during the day with RV’s that then used their toad to tour the parks. But there was always room at the end of the day for those of us who were staying the night. We swung over to Canada’s Glacier National Park, then down to Waterton Lakes National Park, both great places to see as well.
At Waterton, we took a long hike, dog and all on a wonderfully warm and sunny day. 
Before we leave Canada: The following are some things we believed we noticed as foreigners in a foreign land. Only some Canadians used the “eh” for which they are claimed to be famous for. More importantly, Canadians are polite, friendly, helpful. Not so much more than Americans, but universally more of them are, and to a greater extent, than their neighbors to the south.
Canadian National Parks ALLOW DOGS ON MOST TRAILS!! Are bears less dangerous up there? I don’t think so. The only reason we could think of (and we have other examples) was that Canadians, in general, follow the rules better and don’t need so many restrictive attempts to control those people who can’t pick up or manage their animals according to common decency. Camping in American National Parks with a dog is a hassle. They are not allowed on trails – literally off any sidewalk or parking lot. They can’t be left alone in vehicles either. Arthritis doesn’t like being on the trails either, thus back in the states, Pebbles and I hang out together much of the time while everyone else goes hiking.
Canadians have cool paper money. They also have Loonies and Toonies: one and two-dollar coins. While we in America have talked for years about changes to our coin system, Canada took the logical steps years ago. They dropped their penny and added one and two-dollar coins.
We were in Canada over a week before we had to actually touch cash. Laundromats only take cash coins (loonies). My Visa debit card wouldn’t work at ATMs. Banks were closed (weekend). We managed to get some cash at a Wal-mart, provided we purchased something.
Dealing with kilometers, Liters and dollar exchange rate was, of course, weird, but again, the United States is the hold-out on refusing to go to the metric system.
We arrived back in the states just as the Going to the Sun Road opened in Glacier and we managed to snag a couple of spots in Apgar campground. Not ideal spots, but we moved one RV the second day next to the first and it was a great place to explore from. It is VERY shady in Apgar and RV spots are surrounded by very tall pine trees that if one looks around the campgrounds, are not very well anchored in the ground. Within a 100 feed of our rig were three trees that had some time in the recent past, fallen and

been cut up. Dirt was still on the roots. We did have one evening there, that the blowing, creaking trees made us more than a little nervous. Also, being a very old campsite, none of the spots were very level, necessitating pulling out most if not all of our leveling blocks. Just a bit of gravel would have helped, but yes, I’m just whining. Glacier is still wonderful.
Here is a little rant: Leveling blocks…… Those of us who have had to try to level in some pretty rough spots (not just while boondocking), there are two features we desperately need out of our blocks: 1. Height – the ability to place an object beneath tires or jacks to raise that side/end of the vehicle. 2. Something stiff enough to spread the weight of the tire(s) over a larger surface when parking on saturated or sand surface. 2x8s or 2x10s work well for raising a wheel in increments of 1 and 5/8ths inches and creating support on soft surfaces. But they are heavy and have a tendency to split, right down the middle. I now have a bunch of split leveling blocks that might end up in a campfire but might end up in yet another experiment. I’m thinking that if I drill a hole, through the blocks and bolt the broken sections together (with glue), it might make them strong enough to hold up to an RV. (update: I’ve used threaded rod to hold several blocks together and so far, after a few uses, they have worked well.)
The plastic blocks are expensive but they can be stacked like legos. Like legos – they are vacuum formed and open on the bottom which means they are useless on soft ground without first placing boards beneath them.
There are various commercial and DIY rubber blocks, that are simply a compromise. They don’t provide much support on soft ground and are even heavier than wood.
I also own two sets of curved roll-on-ramp style levelers, but they were way too narrow for larger tires of a Class A. Thus, to use them on the rear of duals on a class A, I use FOUR of them to properly support one side of the rear. They are heavy and are a pain to use. Deb is pretty good about driving upon them (all the blocks). Wait – using leveling blocks on a Class A with hydraulic levelers? Yes, we are those people who don’t think it is ok to jack up our rigs to half our wheels no longer touch the ground. So, we level with blocks first to get close, then let the leveling system finish the job. Hydraulic jack systems can leak. Having the wheels not suspended in air will limit how far the RV shifts if one of the jacks decides to take a break or we get caught in 70+ mph winds.
I’m also thinking about experimenting with engineered beams or several laminations of high-grade plywood. We shall see how that goes.
From Glacier we went on to Yellowstone. We camped just outside, north of West Yellowstone. We saw Old faithful, quite a number of geysers, pools and steam vents as well as Bison, elk, bear, wolves (from a great distance), eagles, deer and a fox. It’s a wonderful place. Parking is a pain. Way, way too many people. Yes, Yellowstone is wonderful, but I prefer to find quieter places. On the way back to camp one evening – the sky was lit a brilliant orage. Our first thoughts were “forest fire”. As the minutes ticked by, it became clear it was just sunset, bit it was spooky for a while.
Before moving on. There is a Taco Bus in West Yellowstone – that we highly recommend. If you like Taco Bell – don’t bother, but if you want authentic and great Mexican fare, definitely stop by right on the main north-south street.
The Tetons are amazing. We drove down in Idaho and the west side. Arriving in the Tetons, we chose to try Gros Ventre campground (we stayed there  previously) and found a couple of spots. Our plan was to land for a night, then go scout the various boondocking spots we’ve heard about. Most of them were down incredibly rough roads and thus were out for our rigs. We found a couple of possible sites, very buggy, a long way from any place we wanted to visit. So, we picked a couple of better sites at Gros and reserved a few more days.
As I pick this up again, we are headed across Nebraska for Iowa. We are hopping across the Midwest, one or two nights in each spot, driving 5-6 hours a day. Home, for us, means a long list of chores to get done, more downsizing and plans for the next trip, oh and some doctor appointments that are already lined up.


